"Your colleague is en-route to a re-trial today. This is a pretense; you will be on site, and ensure his release."
—The Dentist offering the heist.
Hoxton Breakout is the third heist contracted by The Dentist. It is a loud heist which involves breaking Hoxton out of prison after his capture in PAYDAY: The Heist. It is a two day heist that serves as the sixth free DLC added to the game. Experience and cash rewards for the Hoxton Breakout are disproportionately high when compared to other heists, making it a good target for grinding.
The first day follows the trailer plot line, with the crew blasting a concrete corridor underneath a courthouse and rescuing Hoxton by truck. Guiding the truck to a parking lot, players then escape to an FBI office: due to the overwhelming amount of evidence against him, and knowing he wasn't set up by Matt, the crew must steal information on who was responsible so Hoxton can get revenge.
As announced in a The Creatures Twitch stream, the heist was released on the 27th of October 2014 during a mini event named "Hoxtober". According to the Crimefest website[1], this heist was released as a free DLC, as a result of the official Payday 2 group reaching 1,150,000 members. The heist was initially intended to be paid DLC.
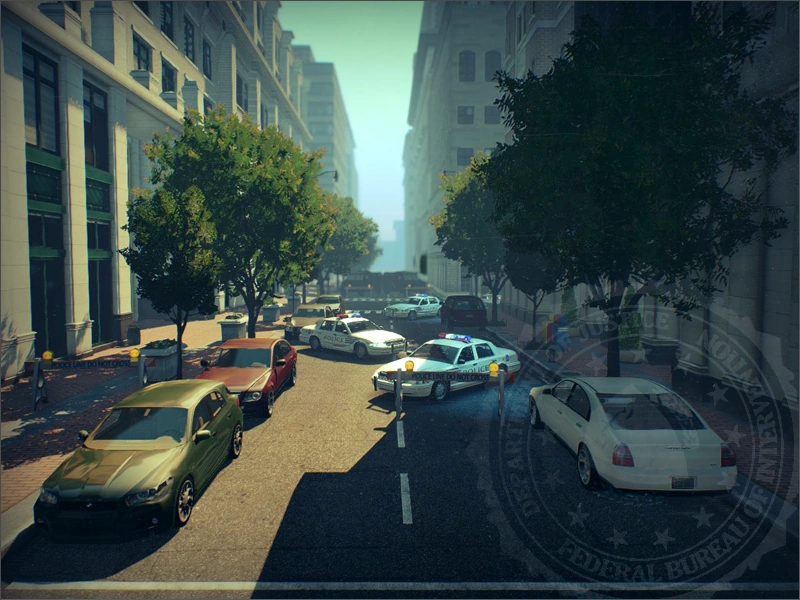
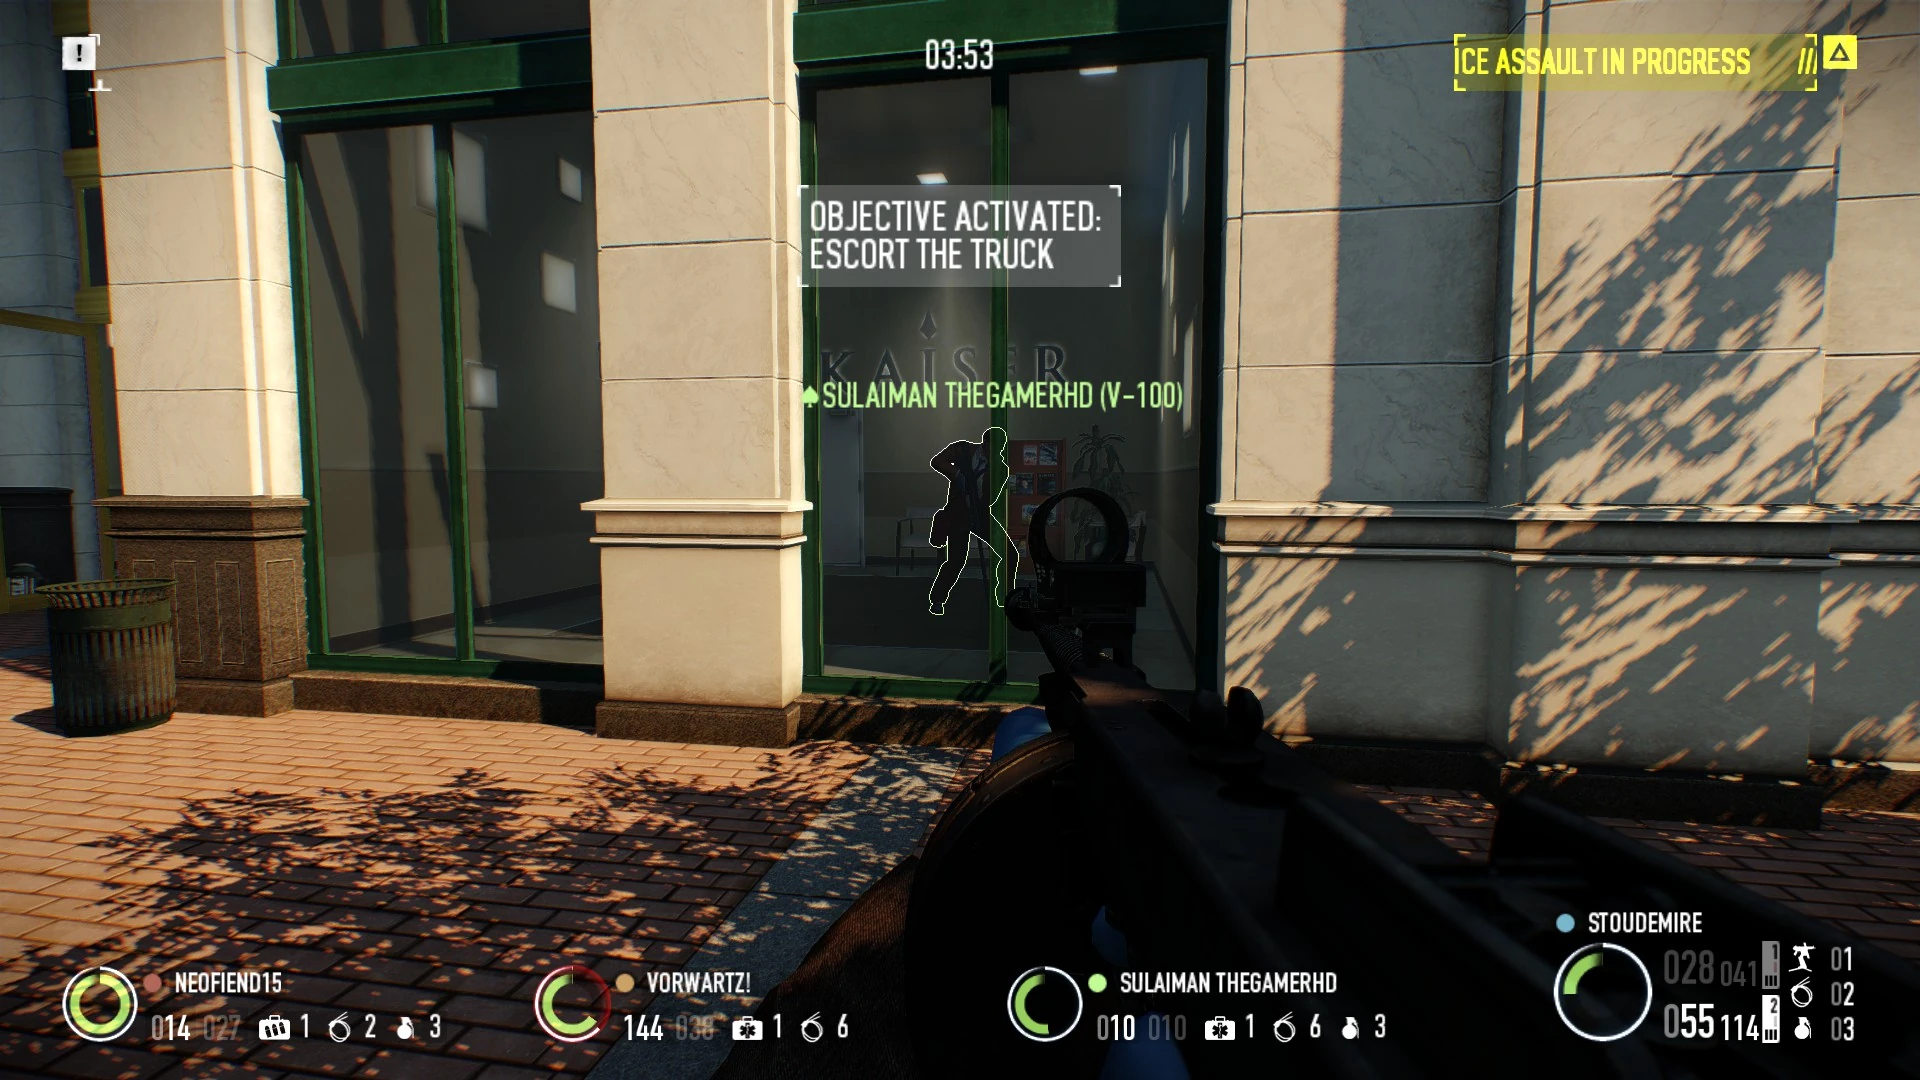
Following the trailer's plot line, the day begins with the crew blasting into a concrete corridor as the security detail escorting Hoxton passes. After killing any surviving officers, Hoxton will get up by himself, and a security door will unlock. Exiting the courthouse, Hoxton will climb onto the crew's truck that needs to be escorted past waves of law enforcers.
Players must survive strong assaults with little cover, similar to Heat Street, and clear any blockades in the car's path. Additionally, the car will occasionally pause to allow players to catch up, moving only when interacted with for a few seconds. After removing the police car blocking the route, the car follows a set path, occasionally turning at intersections.
Eventually, players will come to a few more blocks, including:
More police cars, which require someone to interact with the steering wheel.
Armored SWAT trucks, which need drilling open (60 seconds) before the steering wheel can be used.
Two spike strips may be found blocking the road, which requires interacting with both to retract them.
Destroyed parts of road, which require players to lay metal tracks to allow the truck to drive over.
Road blocks, which have a nearby power box that must be rewired to lower them.
After traveling far enough, the van will come to a stop at a garage, requiring someone to take a parking ticket to unlock the gates. Immediately after entering the lot, the car will come to automatic bollards, which must be lowered by finding the security room. Spawning behind one of the many doors (easily spotted by the orange "private" sign above them) throughout the three levels, players must pick the locks, saw the handles, or use single charges to open them.
After finding the correct door, a computer must be hacked for a small amount of time, depending on the difficulty. Also, on Very Hard and higher a scripted Bulldozer will spawn in the room. The Bulldozer can either be sitting on a swivel chair and slowly turn around to face the heisters before opening fire, giving prepared heisters ample time to dish out decent damage before he even stands up, or just spawn in fully prepared, giving heisters a much harder time.
Finally lowering the bollards, the car will turn to the final gate. To escape, the three pieces of armor around the car front must be removed, and the gate unlocked with the ticket stub.
Stategy
Don't worry about the armored car. Enemies can't do anything bad to it such as stopping it or slowing it down. You'd better stay in front of it rather than behind. Help opening its path and try to anticipate its stops to have it run forward as much as possible.
You may use the armored car to protect yourself. While kneeling next to the car, you should be able to progress at barely the same speed as the car being covered from one of your sides. However, the car may not always be a reliable source of cover, as mobile enemies can easily swarm players near the vehicle.
Bulldozers shouldn't be a problem on this part of the map (in the street), as they usually spawn far from the car and tend not to get close enough to be dangerous. Often, simply ignoring them and keeping progressing with the car is enough. Don't forget Bulldozers are very slow in their movements and they can't catch up with the car if it is moving forward.
Be careful if your team splits to find the computer room in the garage (which seems to be a logical time-efficient strategy). The garage is huge, doors are randomly placed, and assault waves are especially strong in there due to the cramped spaces. If heisters are alone, they are much more vulnerable and assistance may be hindered by the large opposition.
You can place deployable equipment behind the armored car, effectively creating a mobile supply depot. If the team were to stick close to the truck for most of the mission, it is advised that all consumable equipments (Doctor bag, Ammo bag and First Aid Kits) are placed onto the truck bed. The Sentry Gun is not advisable to bring at all during the day as the team will always be mobile, and placing it onto the truck will cause it to disappear once the vehicle starts moving again.
Day 2 (The Search)
Objectives
Assets
Walkthrough
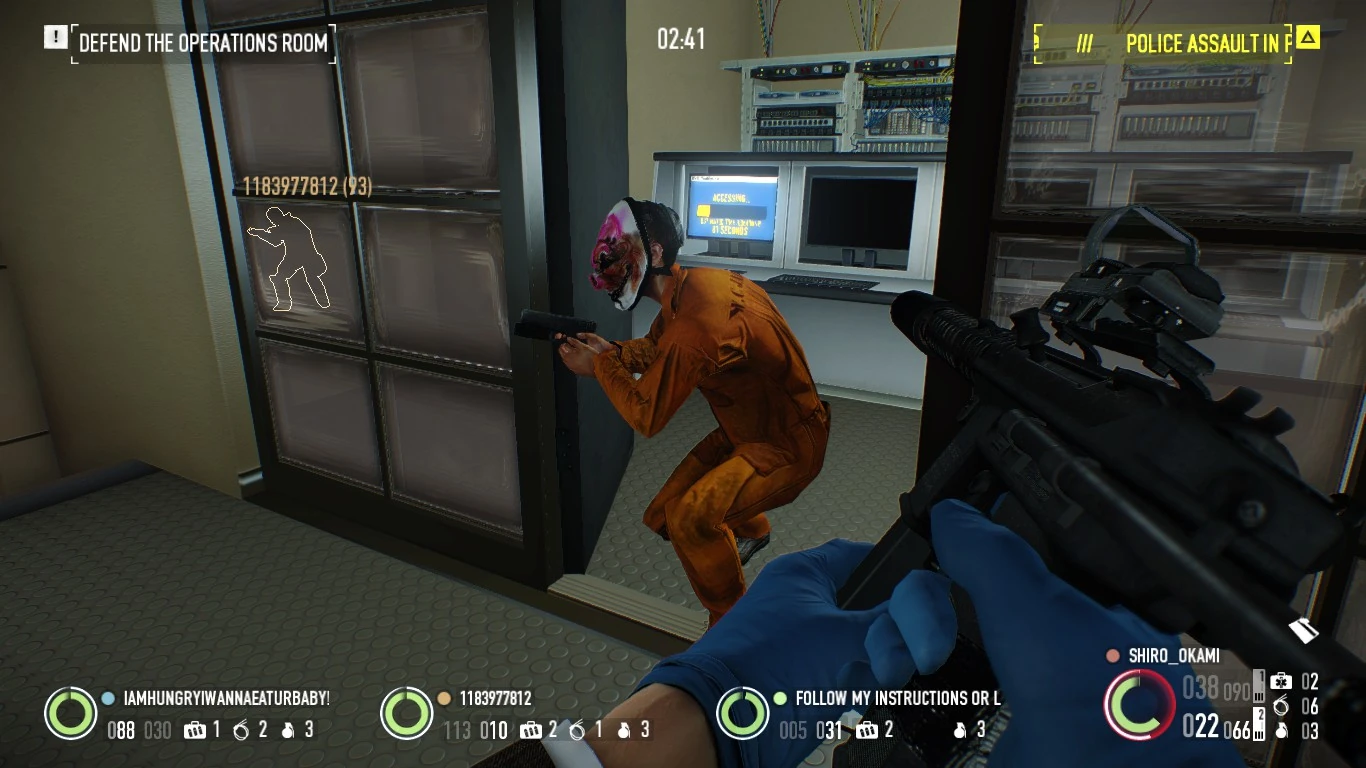
Smashing into the FBI offices, numerous agents will spawn throughout the building. Hoxton must first be escorted to the server room, where he will lock himself in. Hoxton will need to use all four monitors to get enough data, with each needing 100 seconds to work. In addition, there is a switch box in the room that must be protected while Hoxton is hacking the servers. If law enforcers shut down the power, then the hacking process is interrupted until power is restored. Only one switch box is selected per run of the heist, and incoming law enforcers will focus on deactivating that. When the power is restored, it may take up to 30 seconds for the hack to resume.
For the 2nd, 3rd and 4th monitor, the crew has to do one of a series of actions, the selection of which changes for each playthrough:
Head to the Director's office and hack his PC (30 second process) and accept the "Security Clearance" pop-ups whenever Hoxton sends them (Always 4).
Head to the IT department and bring Hoxton a server that had been removed for routine maintenance. The server is in one of the four small offices, all of which have security doors (each require a 60 second drill, two C4 charges, or one upgraded ECM). Looking through the side windows can reveal which office is holding the server. Be careful once the door is breached, as there is a chance a scripted Cloaker will break through the ceiling vent to ambush anyone approaching the server.
Download encryption keys from a security PC (towards the building entrance on ground level or upstairs) onto a hard drive. Whilst the process is ongoing (80 second process), gas can be dispensed inside the small office, which will dissipate when the hack is almost complete. A local fusebox will be present inside, allowing law enforcers to cut its power if it is not guarded.
Fetch Hoxton some files regarding his case from the archives in the basement level. After bypassing the 2 doors (A 20 second lockpick/two charges for the first door, and then a 1 minute drill, two charges, or an upgraded ECM for the second), the numerous bookshelves (double sided and 12 bookcases, for a total of 24 possible interactions) around the central aisle must be searched; the only way to locate them is to search indiscriminately until they're found.
Head to Forensics and search for DNA Evidence on the traitor in Hoxton's case files. The main lab and its archives are two separate rooms, which must be lockpicked and drilled (60 seconds) respectively, and can be moved between through a connecting keycard/ECM door. After gathering evidence, which is in the blue boxes marked "Clown Case", each box must be scanned (30 seconds each) until the traitor's DNA can be found.
After Hoxton finally finishes filling a server with data, he unlocks the office, and a player must carry the server to the escape vehicle. Once the server is picked up, an endless police assault will occur. Reaching a secure door near the entrance (requires a keycard, upgraded ECM, a 60 second drill, or blasting with 2 charges), the basement parking lot can be reached and, once the server is loaded into the the back of the SUV, the escape is available.
Strategy
Closing blast doors is the most dubious way of spending keycards. No matter if you will close them, enemy still can (and will) use balconies or blast the ceiling. The only blast door that should be taken care of is the one facing two passages due to snipers being capable of taking heisters down. Still, this door shouldn't be touched at all if you don't have any blast doors against the server room. Despite popular belief, closing doors does NOT reduce law enforcer flow. On the contrary, it does prevent them from taking conventional routes, forcing them to use the balconies or ceiling.
Even though closing the doors does not reduce law enforcer flow, it helps to close some, if not all, so you can have a larger safe area since the enforcers cannot get through the closed doors.
Assuming you'll use every keycard to lock the blast doors into the main room, having a Ghost with the ECM Overdrive skill will highly improve your chances as their upgraded ECMs can quickly open keycard doors, or potentially saving them for later use. It is recommended that the crew open the medical bay or the armory with ECMs to restock and patch up in-between assault waves.
Likewise, a high level Technician can be very useful to have in the crew. The 6 Shaped Charges have a variety of uses, including breaching the doors of any random objective assigned to the players, cut off sky bridge access, trapping the power box to keep it running, or laying some in sensor mode by the entrance to mark incoming specials and snipers. However, keycards should still be picked up, as C4 cannot breach the medbay, armoury, or third floor door.
Be sure to use your keycards or ECMs as the situation demands. If you have multiple Masterminds with medical kits, you do not need to unlock the medical bay. Likewise, if you have multiple Enforcers with ammo bags, you do not need to unlock the armory. If your team lacks efficient door opening skills or equipment like C4 or improved ECMs, consider saving a keycard to use on the final escape door, as the entry hall has limited cover and there is the chance law enforcers can spawn on both ends of the hall, trapping you in a pincer.
At random intervals, law enforcers will breach up to 3 locations on the roof in the main operations center (signaled by an explosion and all players' screens shaking) and rappel down, allowing a constant stream of reinforcements using that route. The group can consist of up to 4 units and range from HRUs and MFRs, a Taser and 2 Blue SWAT, Shield units, to a Bulldozer.
The server in the IT department can be behind one of up to four different doors. Don't waste your time drilling into every single one, instead look inside through the glass panes to see which one has the server, and focus on opening that. If you have trouble seeing through the windows, throwing a grenade into the hall or shooting the windows will shatter them, allowing you a clearer view inside.
No objectives or items of particular interest will be on the upper level of the building, but it does provide alternate routes which can be useful depending on the exact layout of the second floor. In addition, only a single keycard is needed to open the entire upper level; opening a single door leading to the upper floor opens them all. There may also be a replacement keycard on the upper level, but it is not a guaranteed spawn.
Be careful when moving out into the atrium, as this is the only mission where snipers can spawn inside the same building as you. They will usually spawn on the upper balconies or in the entry hall. Given the extremely short range, snipers will deal massive damage and can leave you very vulnerable should other law enforcers be capable of firing upon you.
It is practically guaranteed heisters can Dominate one or both of the FBI Office Agents by the metal detector if approached and shouted at immediately, potentially due to them becoming alert as soon as the mission starts rather than starting alerted. Generally both can be taken hostage if two heisters with Dominator immediately run up from the left and right sides and shout simultaneously without splitting their attention, lest this short window is missed. Others should take care not to blast them until it's clear the opportunity was missed or no one is attempting to take them hostage.
Keycards
Keycards can spawn in the atrium, the director's office, on the desks of the forensics lab, the main operations office, on the upper level, and other various locations.
Keys may spawn anywhere on the first floor. The more common places to check for them are behind one of the 3 security counters in the lobby, entrance hall and near the archive. They may also be found lying randomly on one of the many benches that hugs the back walls. If one is fortunate enough, a key may spawn right in the basket in front of the metal detector on the way in and can be grabbed almost immediately after masking up.
One of the rarer and more tricky potential spawn points for a keycard is the plant pot directly right of the building's entrance. Upon entering the lobby, one should look over to the area where the first floor's security office may be, and check the plant pot closest to them.
Keycards, C4 and ECMs can be used in several key locations:
The Infirmary (2nd floor, in the hallway surrounding the main office) can be opened, providing up to three medical cabinets each with three uses. They have the same functionality as a Doctor bag, meaning they also reset the bleedout counter.
The Armory (either the 1st or 2nd floor) can likewise provide huge amounts of ammunition, along with 9 grenades.
Any objective door that normally requires a drill or shaped charges to open.
Security Doors to the main operations office, limiting the number of entrances the police can take. Those doors can be opened and closed at will by team members by interacting with the door consoles.
Stairwells (only one needed) which allow the crew access to the upper level, giving more ways to get around and elevated firing positions.
Law enforcers will also use a series of sky bridges to gain access to the building. There are two bridges on the second floor and two more on the third, on opposing sides from each other. C4 can be used in front of the gates (2 charges required per bridge) to destroy the skybridge floor, preventing all enemy traffic in the walkway. However the roof remains accessible, allowing them to still attack you from above.
Variations
Day 1
The armored car always travels four blocks to the parking lot, though the route it takes and obstacles it encounters can vary.
The security room will be behind one of several "private" doors. Incorrect rooms will be empty save for a dustbin and locked door. The doors are random in number, and can spawn in several locations distributed among the 3 floors of the parking area.
A Black Bulldozer spawns in the correct security room on Very Hard and above. On Death Wish, the dozer is always a Skulldozer. There's a 75% chance for him to spawn in combat-ready position, and a 25% chance for him to be sitting on a stool that slowly swivels back to face the players.
ATMs can spawn in differing amounts and locations, such as under the stone awning on the intersection of stores.
Day 2
Keycards can spawn in several locations and differing amounts throughout the offices.
The tasks the crew has to complete before Hoxton can continue hacking may vary.
The locations of some rooms, such as the armory or IT department, are randomly placed. In addition, the number and location of blast doors leading to the Operations room may vary.
The location of the fusebox will vary between 5 positions in the operations room.
Locked double doors can spawn in certain corridors, such as near the lab or the Director's office. The doors cannot be interacted with, but only block certain paths.
The location and the number of large screens in the Operations room may vary, though they will always occupy the positions of the large windows.
The FBI Files
Security was very high as the prisoner - James Hoxworth - was being transferred from Hazelton Prison to his parole hearing. The Payday gang intercepted this transfer through the use of C4 explosives. They then escorted him through the streets. Soon after escaping from the reacting forces, they headed to the FBI headquarters at the Hoover building, where they stole a server.
My Notes: The gang obviously wanted this guy back, and he obviously wanted something from us. If there’s one thing to learn from this, it is never underestimate the Payday gang.
Bugs
Hoxton fighting alongside the crew while the servers hack themselves.
Since the latest update for the Crimewave Edition on consoles (Version 1.02), on Day 2, Hoxton will no longer say any of his voice lines either out loud nor will the subtitles appear onscreen where he's supposed to say them. The items he requires each time will still have the prompt, just with no voice lines.
If the cops that are arriving in a patrol car on the first day are killed before they can get out, their corpses will remain stationary in their seat, and the car will clip through them once it is moved. They will then appear floating until despawned.
Sometimes, during an improperly synced session, Hoxton will not close the server room door on Day 2 and instead will engage in combat alongside the crew while the computers hack themselves.
If multiple players interact with certain objects at the same time, they will yield one objective item each.
The ticket machine on Day 1 will grant the players who used it one ticket each if they begin their interaction phase at the same time. This can potentially benefit the team as any player can escort the truck to its destination and trigger the escape.
If more than one player attempt to pick up a keycard on the second day, they may get one each. This also happens to the Security Codes hard drive (Security Room objective), the testimony files (Archives objective), case evidence boxes (Forensics Lab objective) and so forth.
Upon finding the control room within the parking garage, players may hear the usual Bulldozer announcement quote, even though the Bulldozer himself is nowhere to be seen.
Players will sometimes be stuck inside the building and can't get out on their own.
On day 2 when Hoxton asks you to obtain a server from the office, the server can on rare occasions spawn inside a wall between two offices.
Enemies will rarely clip through the truck on day 1.
Players will sometimes get stuck inside one of the buildings in day 1. It can only be fixed by the player getting into custody (through explosives or Molotov Cocktails) and be released or traded. Alternatively, unless the trapped player is the host like in the screenshot, they may leave the game and rejoin.
Rarely In Day 2, heisters may be able to leave earlier as an apparent script conflict may occur, regarding carrying the server to either Hoxton or the escape point.
Why Don’t We Just Use a Spoon? Complete the Hoxton Breakout heist on any difficulty. Unlocks "Hoxton" as a playable character and the "Nova's Shank" melee weapon.
No Bars Can Hold Me Complete the Hoxton Breakout heist on the Death Wish difficulty.
Wind of Change In the Hoxton Breakout job, complete the heist while you and your four man crew are wearing one different "Historical" mask each on OVERKILL difficulty or above. Unlocks the Discrete Stock and Short Barrel for the Nagant sniper rifle, Precision Barrel for the Broomstick pistol, Extended Mag and Long Barrel for the Patchett L2A1 submachine gun and the Heatsinked Suppressed Barrel for the Buzzsaw 42 light machine gun.
Tabula Rasa In the Hoxton Breakout job, complete the heist on OVERKILL difficulty or above with each crew member using no skills, wearing suits, wielding Golden AK.762 rifles and Chicago Typewriter submachine guns. Unlocks a new skill slot.
Situation Normal In the Hoxton Breakout job, complete day 2 without using a single keycard on the OVERKILL difficulty or above.
Wankers Beware Complete the Hoxton Breakout job on the Mayhem difficulty or above.
Still Got That Lucky Dollar? Complete the Hoxton Breakout job on the One Down difficulty.
Situation Normal
Having either at least one Ghost with ECM Overdrive or a Technician armed with C4 can help greatly with this achievement. Having both in the team at once is even more beneficial, as most of the objective doors are susceptible to being opened by the ECMs, and all can be blasted open (with Jack Of All Trades Aced, one could bring both ECM Jammers and C4, though not only does this reduce the amount of ECMs/C4 depending on what's brought as a secondary, it could potentially leave the player lopsided). If the Technician has More Firepower aced, they will have enough explosives to blast open three objective doors, assuming the crew decided to forgo drilling or lockpicking entirely. The Ghost's usefulness is somewhat limited due to the small amount of ECM Jammers one can carry, though becomes invaluable when access to the medbay or armory (which is one thing C4 cannot do) is urgently needed, thus one should attempt to crack open one or both when possible to provide extra resources for the team. How and where the blast doors leading to the Operations Center are positioned also helps/hinders progress. Whatever the door-opening method employed, it is recommended to reserve one use for the escape as defending a drill during an unending assault can be very risky.
Still Got That Lucky Dollar? is a reference to the dollar Hoxton picks up in the Hoxton Breakout trailer.
Trivia
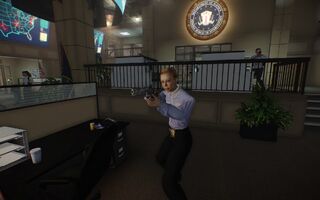
A female FBI agent with her Bronco .44
This heist is the first to depict female law officers: Day 1 features a female prison guard at the beginning of the level (in line with the Hoxton Breakout trailer), while Day 2 has numerous female FBI agents attacking the crew as the initial enemies of the map. These female FBI agents are more dangerous than their male colleagues due to them being armed with Bronco .44 revolvers.
If they are dominated (and converted), the female agents will use male voice lines.
Upon closer inspection, the agents at the FBI office seem to carry NYPD Detective Badges, but the badges bear the name of the Washington DCPD.
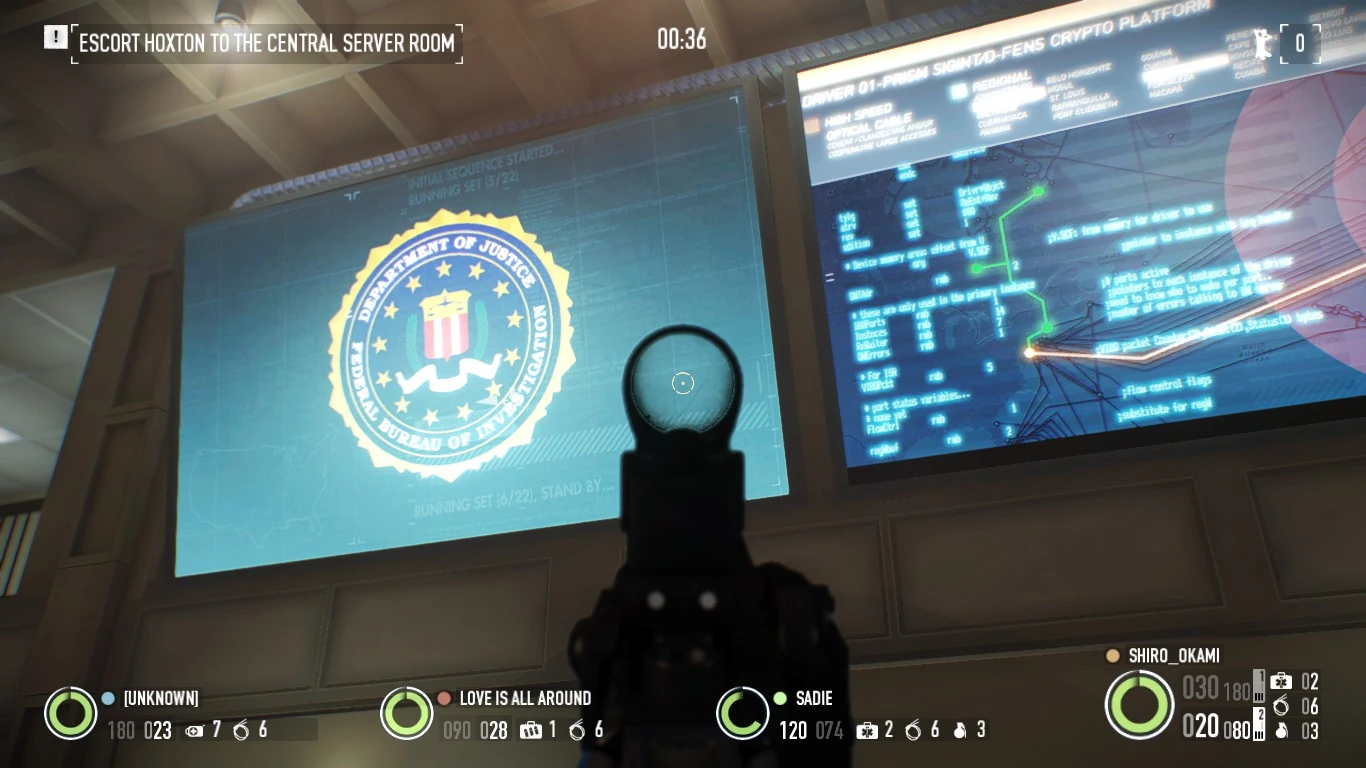
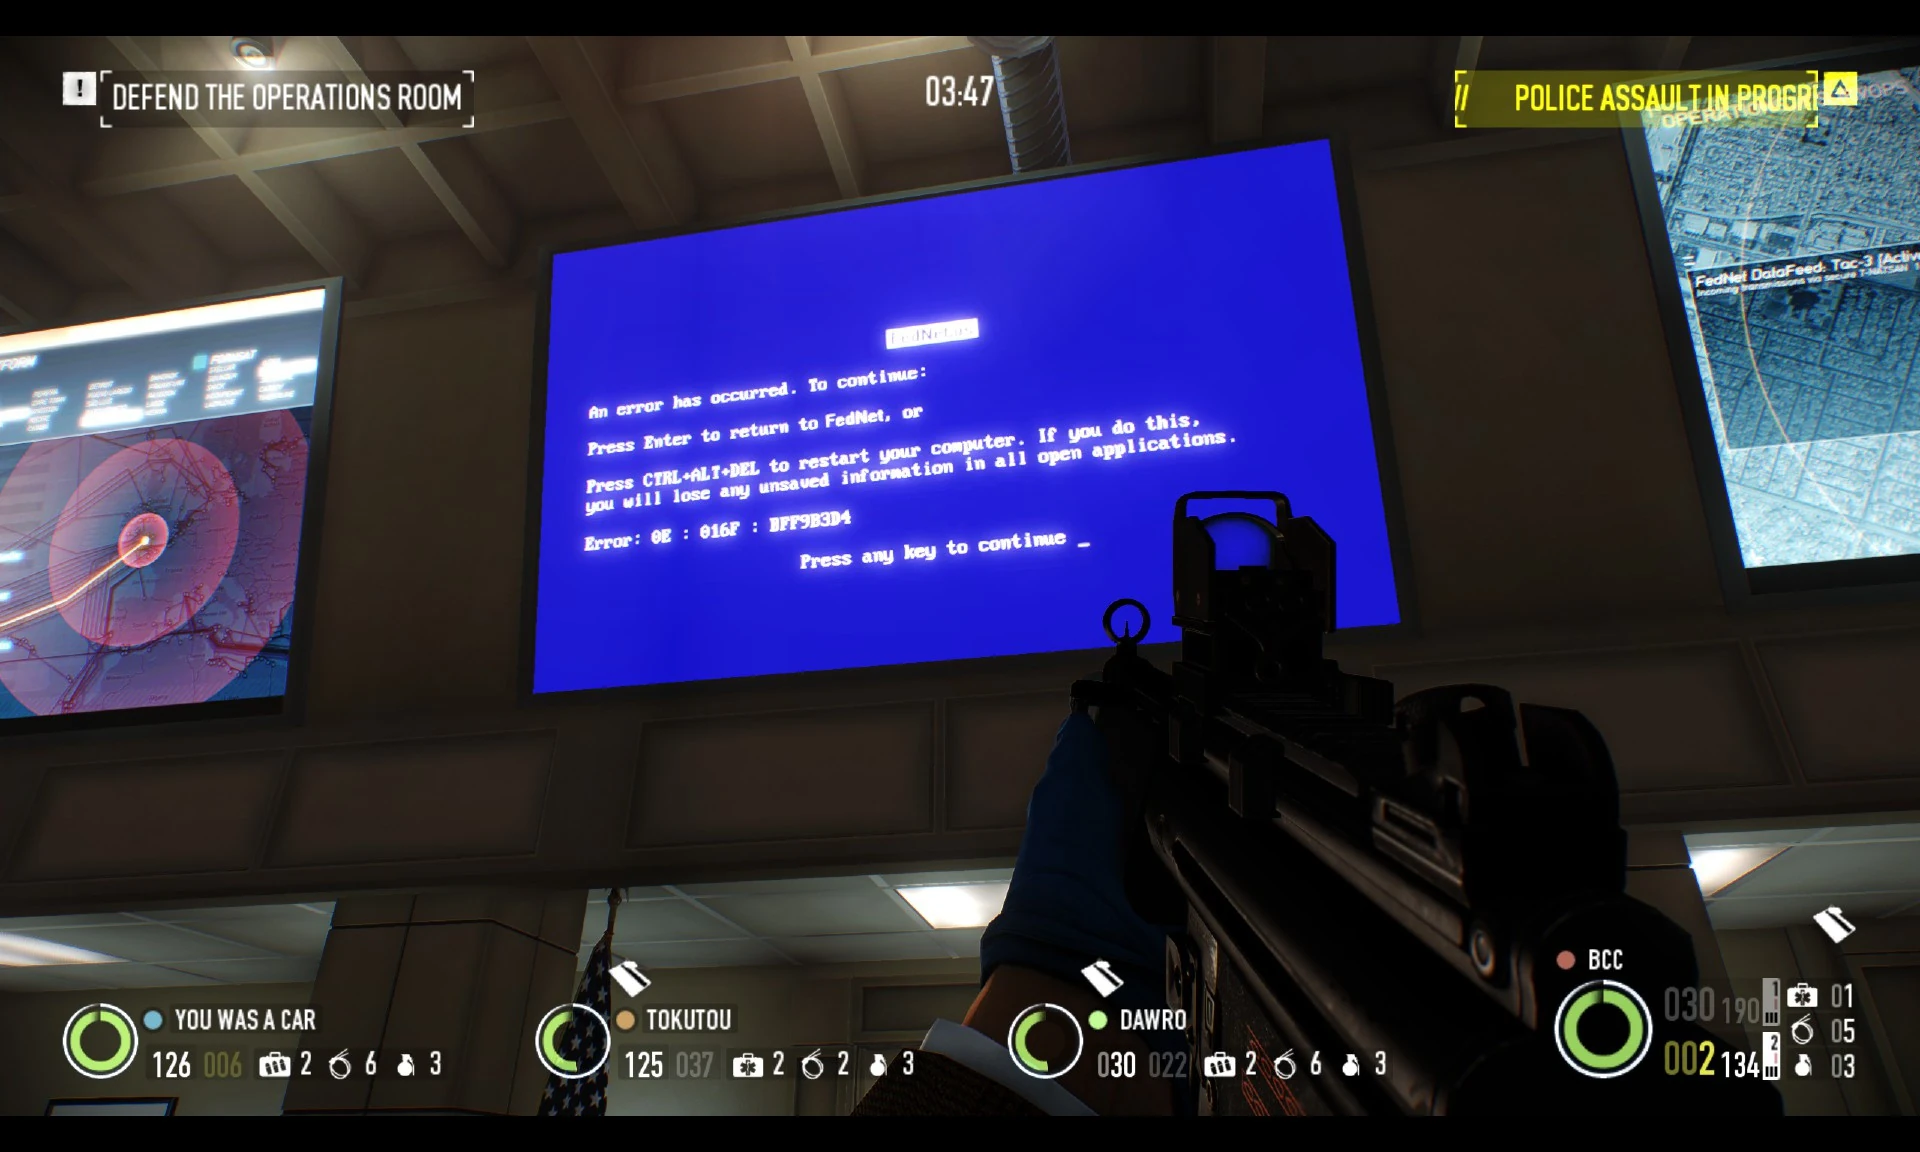
The full name of the real FBI displayed on a screen.
The office building the crew breaks in on the second day of the heist is the headquarters of the fictional Federal Bureau of Intervention (not Investigation). Despite this, the big screens in the operations room still displays the full name of the organization as Federal Bureau of Investigation, complete with the real Bureau's insignia.
The release video featuring the soundboard of Old Hoxton dialogue contains all the quotes about the prison that he attempted to breakout, including the voice work of the advertisement. [2]
Hoxton Breakout is the first heist not to include any type of baggable loot that can be secured for money. Loose cash items still exists within the level in the form of ATM Machines.
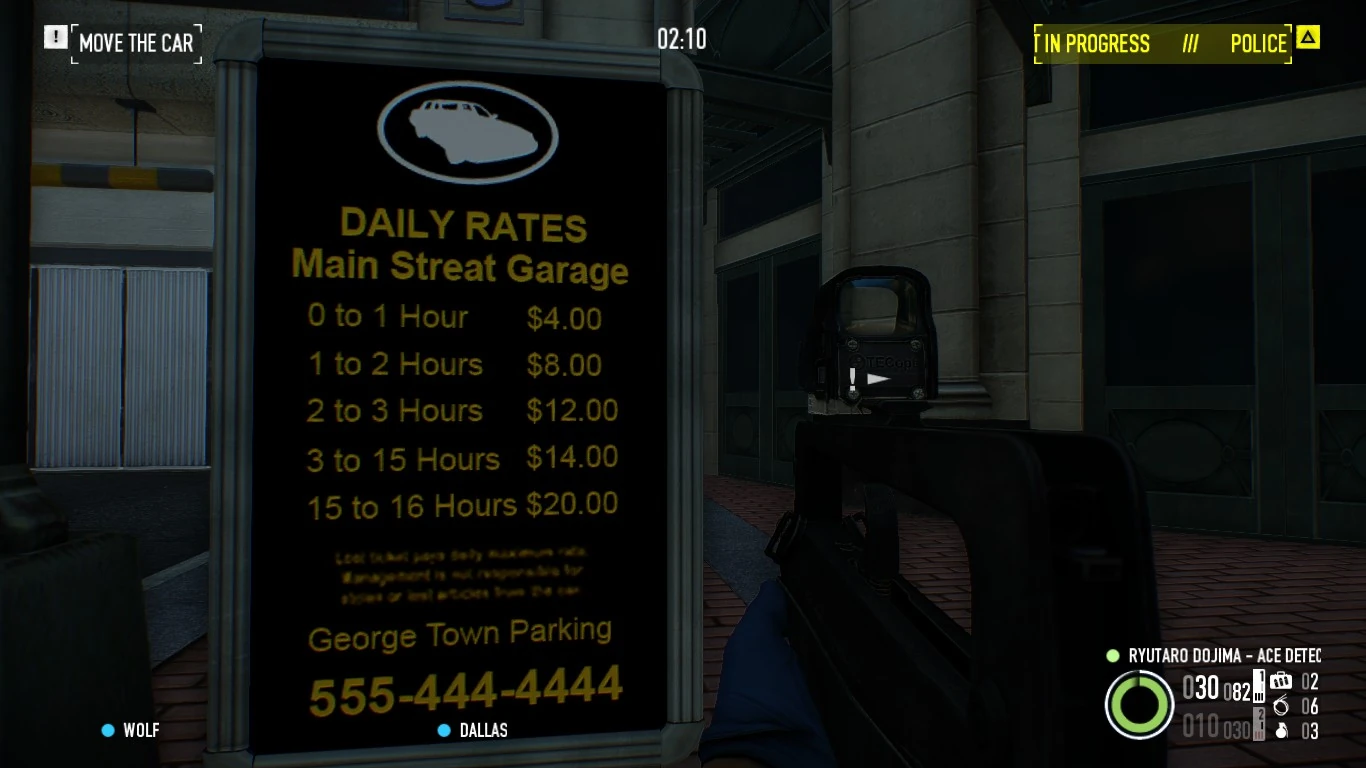
The Prices for the Garage on Day 1
Parking tickets costs $7 each, as mentioned by Bain when the crew successfully escapes. Bain will ironically also say "How much for parking? That's robbery!", or "$7? We were hardly here!".
This is a subtle reference to the many complaints made by players that recent content expansions for PAYDAY 2 were too short, being largely overpriced while lacking substance, with a typical major heist DLC costing $7 apiece.
Even though Bain says tickets cost $7 there is no option on the Parking Board outside that reads this (closest would be 1 to 2 hrs, which costs $8).
A parking meter can be blown up using C4 in The Alesso Heist. Bain will comment "Got our seven bucks back. Stretch goals are good." and an achievement will be unlocked.
The fugitive Hoxton can be seen carrying a Predator 12G shotgun in the Breakout update title card. This is not observable during gameplay, however, as he always carries around and uses the Chimano 88 pistol given to him at the start of Day 1.
Day 2 of this heist is rather unique in that certain objects (most commonly doors) start out in a static state (not interactable with) until certain objectives are triggered, after which they can be interacted with as usual.
At random points during the first day, Hoxton may mention that their former driver Matt was not the one who ratted him out, despite betraying the crew in Heat Street and beaten by him in prison. He even suggests the team breaking Matt out some day.
The nickname Houston can be heard used by the other crew members even before Hoxton fashioned it for his replacement. Chains can be heard calling out for Houston before the heist starts even if neither of them are present in the current crew.
The entirety of Day 2 might be the base for the FBI Files unlocked during Crimefest. During the hack, Hoxton may mention that "They don't only have dirt on me, they have information about all of us, without names though."
The Hoxton Breakout has been mentioned several times before its eventual announcement, from the GO Bank update, to the Dentist update.
If the player attempts to call out to the Hoxton AI in Day 1, he/she will begin shouting at him as if he was a law enforcer. This suggests that Hoxton's AI was more or less based on the same scripts as a converted cop, since he also has their signature blue outline that's not seen on other friendly NPCs.
The Almir Listo ALS Ice Bucket Challenge showed a 5th heister wearing a slightly altered Hoxton mask, as a hint to how Hoxton would look in-game after the breakout.[3]
The heist not only marks the first VIP mission in PAYDAY 2, it is the first where instruction is not provided by Bain; instead, objectives and instructions are given by the driver of the truck on the first day, and by Hoxton on the second.
Despite the Dentist being the contractor of this heist, he has very little, if any, involvement in the entirety of it.
Even though the heist revolves around breaking out Hoxton, the Englishman remains a playable character if he is unlocked, making it possible for two of him to appear in the mission.
The second line reads "Press Enter to return to FedNet, or"
Sometimes on Day 2, an altered version of the Windows 9X blue screen of death might appear on one of the big screens. The BSOD replaces all references to "Windows" with "FedNet", presumably a network of contacts similar to Bain's "Crime.NET" except used for law enforcement purposes.
On Day 2 of the heist there will be a designated sniper spawn on the ground floor lobby of the FBI headquarters. This is one of two times outside of modding or exploits a player can melee a Sniper, the other being spending a keycard to gain access to the third floor and finding one there.
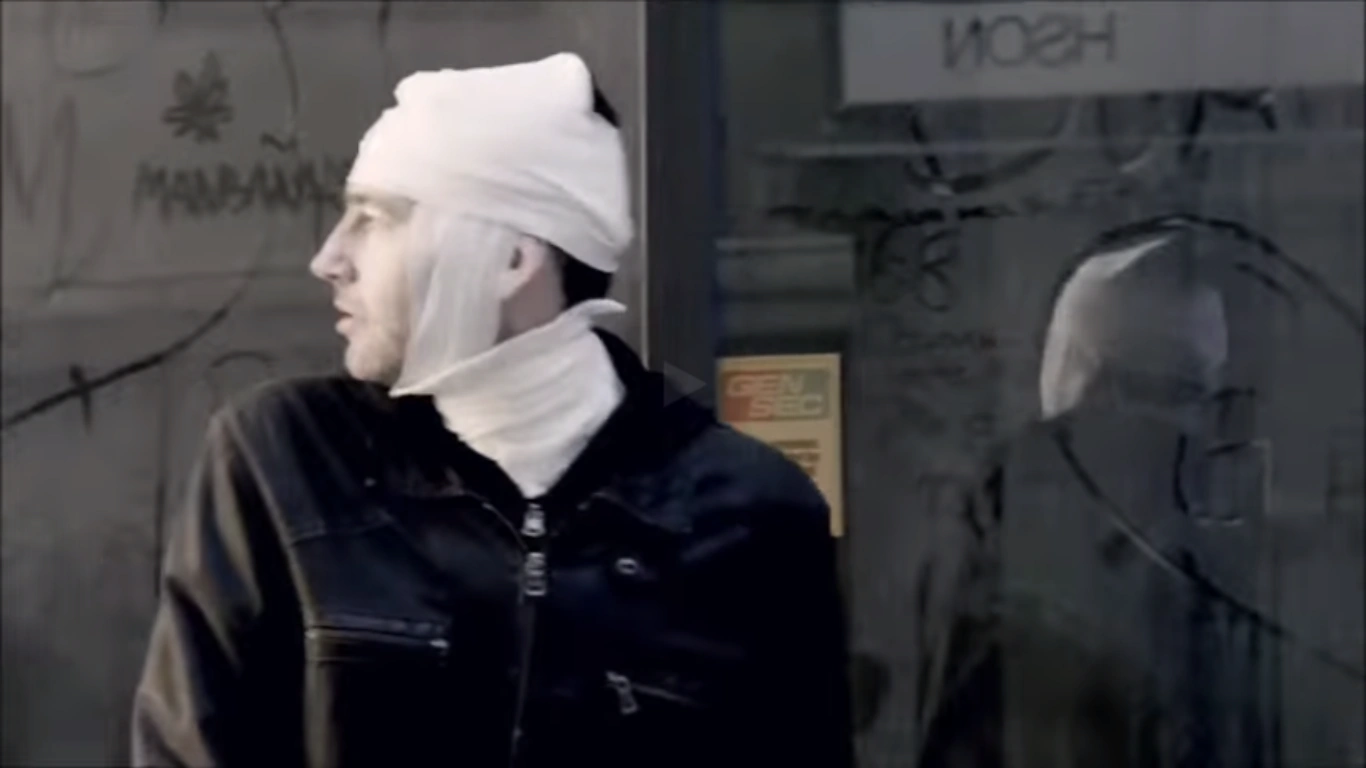
Bobblehead Bob. Alive, but not entirely well.
In the Hoxton Breakout trailer, a heavily bandaged man on crutches can be seen staring at the crew as they drive by. This appears to be Bobblehead Bob, the man who fell off the roof in the Big Bank trailer while attempting to catch Dallas' money.
On day one, directly across the street from the courthouse, there are two stores with glass display cases. On the internal right hand wall of the store farthest to the right, there is a picture of the Overkill hockey team. This picture can be picked up but does nothing when picked up other than disappear.
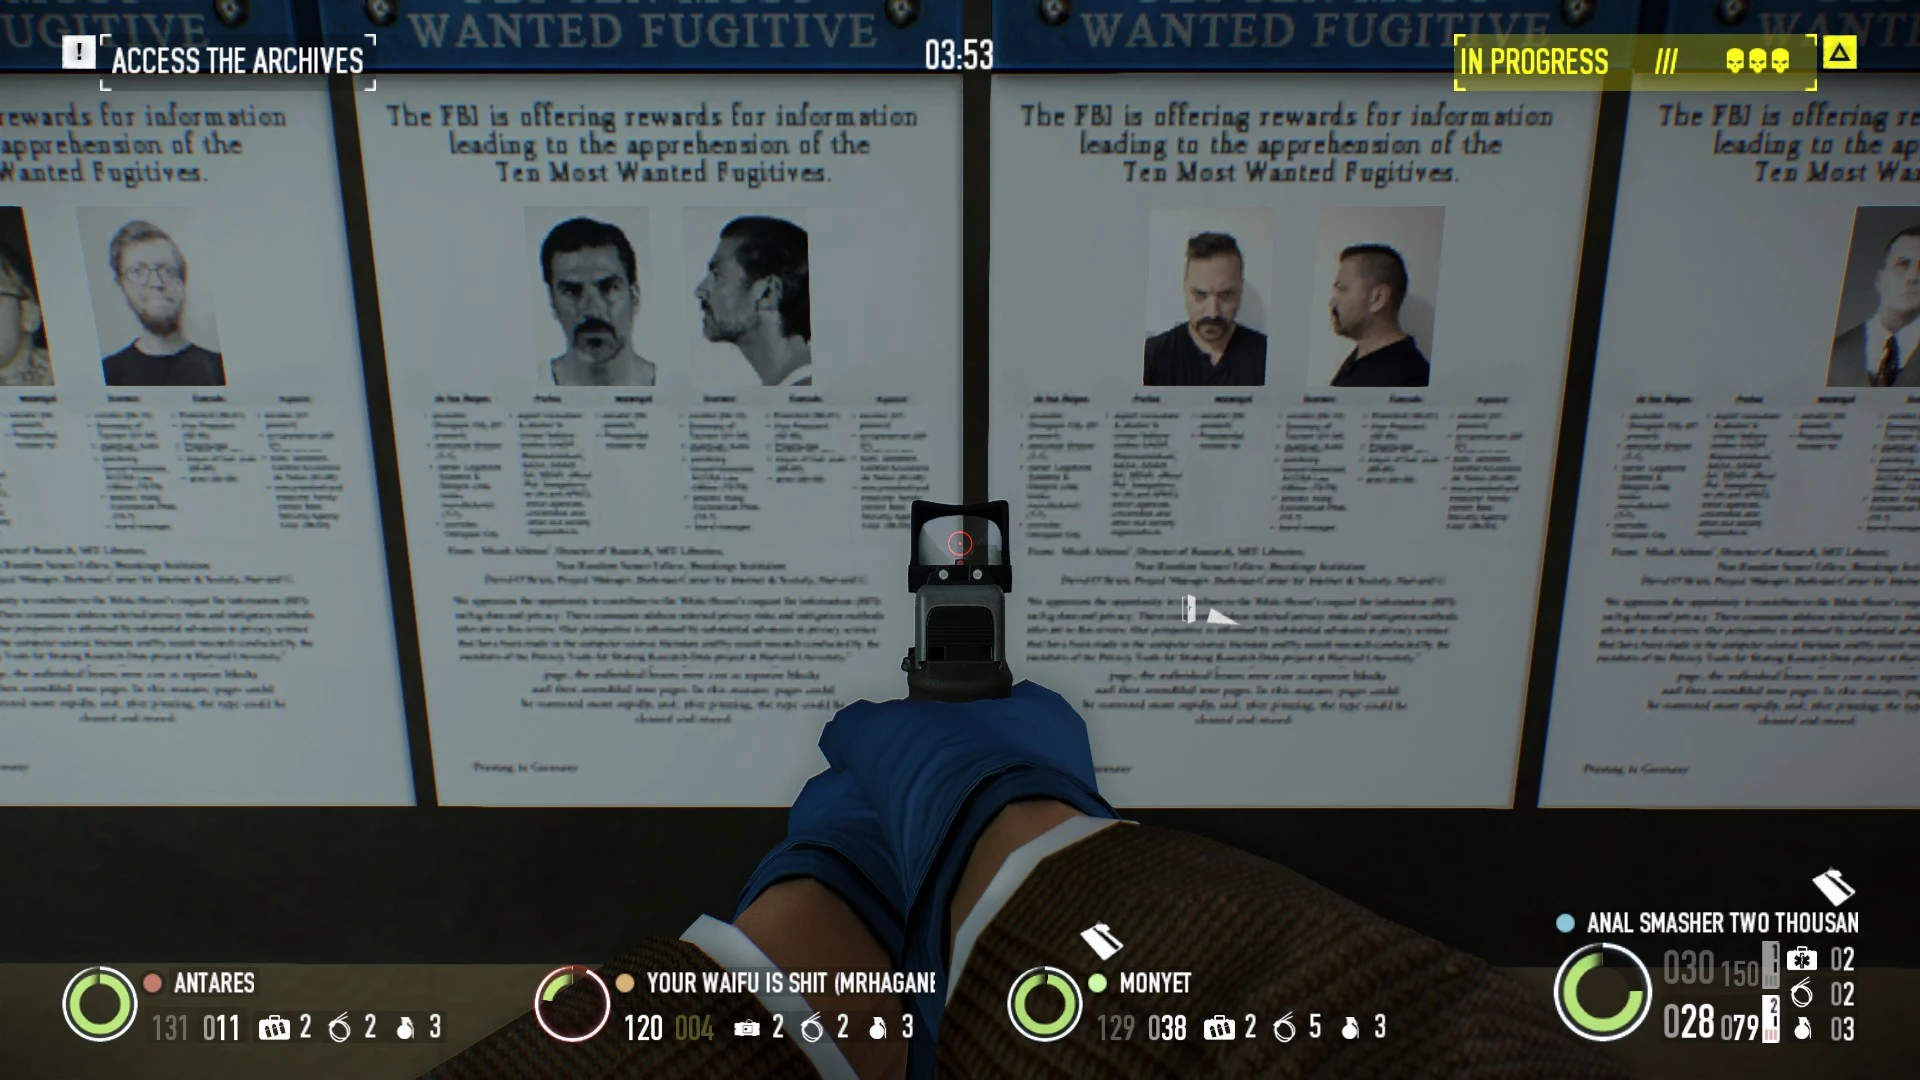
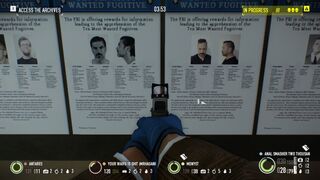
Eric Etebari and Karl Andersson wanted posters
On day two, in the office area, a board with wanted posters of FBI's most wanted can be found. Pictures of both Karl Andersson and Eric Etebari can be found here. Both actors lent their likeness to Dallas in PAYDAY: The Heist and PAYDAY 2 respectively.
During the heist, Hoxton may say "John motherfuckin' Wick, haven't seen you in ages", thus hinting at a prior encounter or partnership. Hoxton also has a chance of asking how Wick's family has been doing, only to wise up and ask if he'd just said something bad once he awkwardly gets no reply. This is, like the entire John Wick character, in reference to the movie of the same name.
The fuse boxes used by the law enforcers to cut the power are electrically rated at 400 Volts, which is more commonly used in Europe. As the FBI office is situated in America it would be rated at 208 Volts.
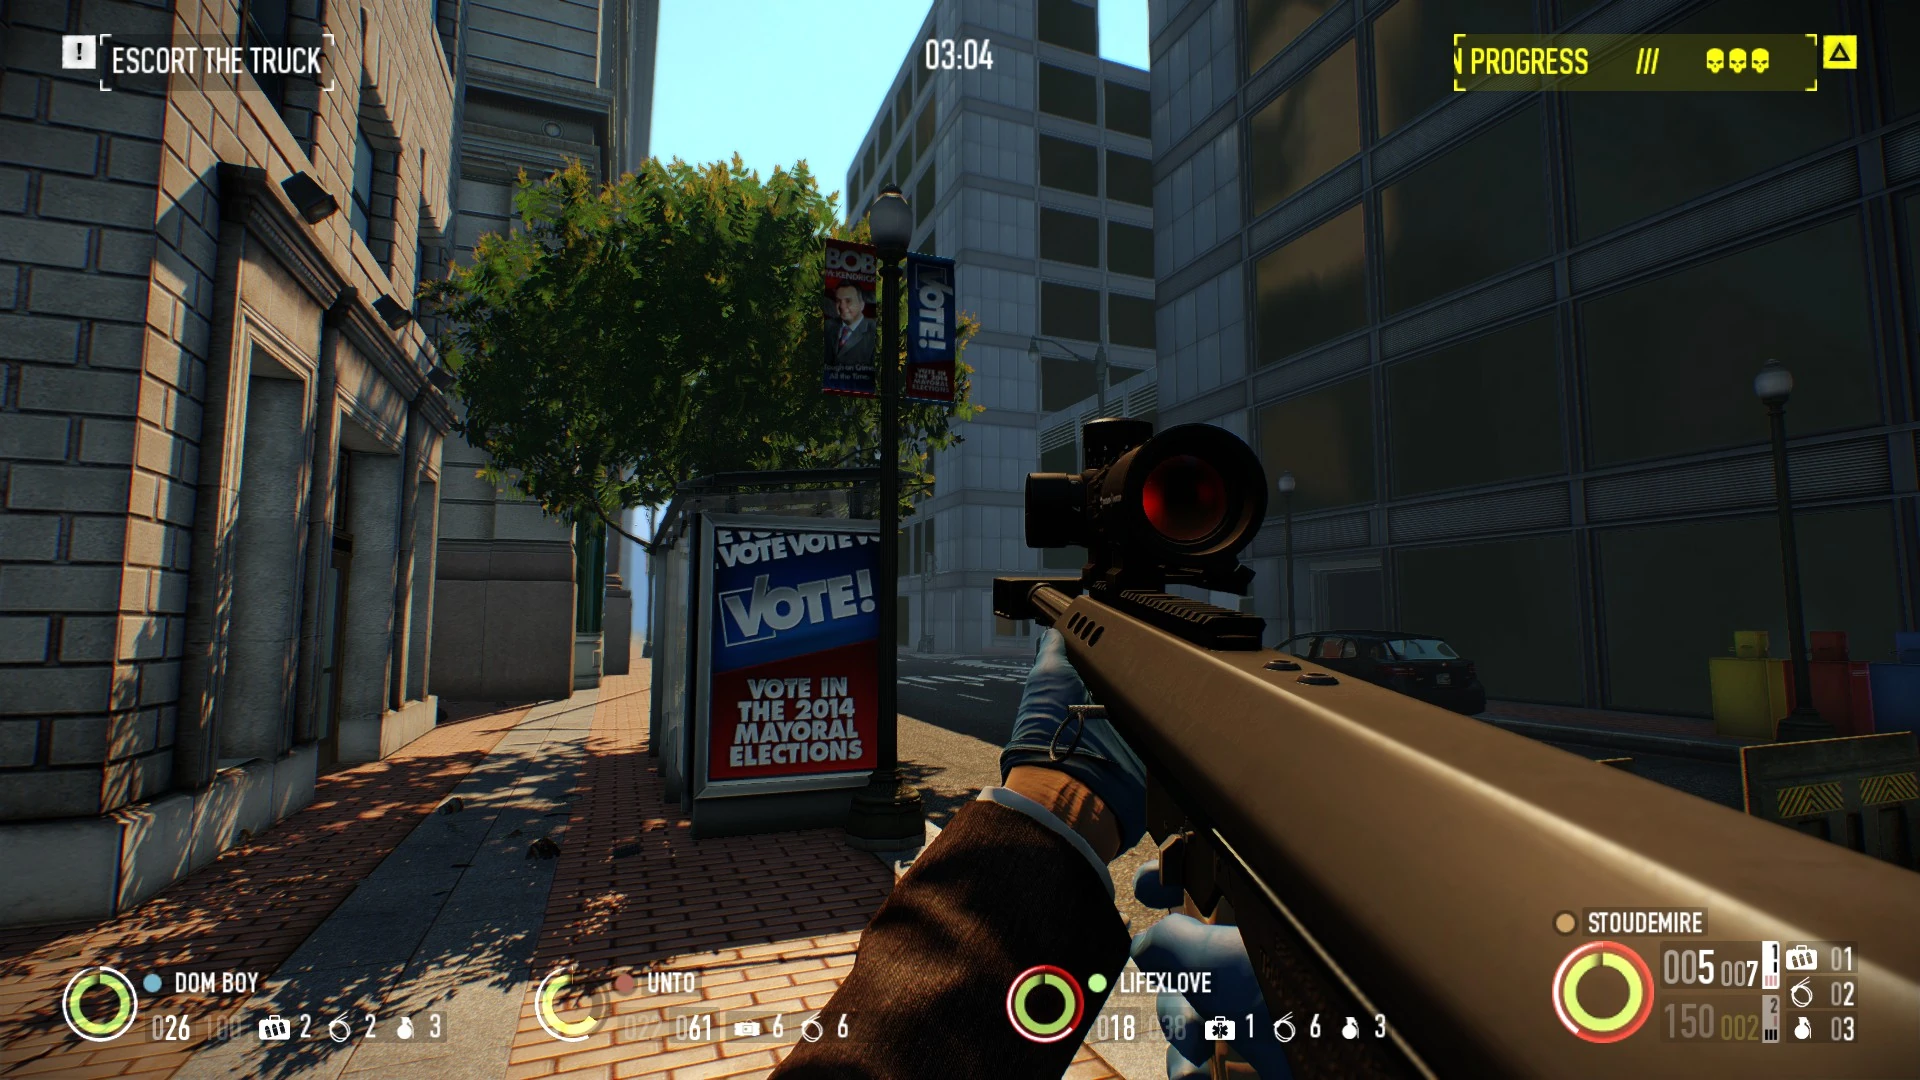
Bob McKendrick's campaign banner and 2014 mayoral election advertisement
Bob McKendrick is apparently still not elected (or that the campaign advertisements have yet to be removed) by the time of the Breakout, as his campaign posters are still present on the streets of D.C. during Day 1 of the heist.
On the third floor, in Day 2, there's a floating bench near a bench in the ground.
Hoxton Breakout bears several similarities to Heat Street, namely the street shootout and a traitor.
This is the first multiday heist in which two different people brief the crew about the heist, with Bain on Day 1, and Hoxton on Day 2.
Strangely enough, on Day 2, the section where Bain briefs the crew is still called Bain's plan, even though Hoxton speaks.
There is a direct continuation of this heist named Hoxton Revenge, which was a reward unlocked during the Spring Break Event.
During a Q&A session Overkill PR-manager Almir mentioned a day 3 to this heist, where you learn the identity of the traitor. It is unknown whether this was in jest or that only afterwards was decided to make Hoxton Revenge a stand-alone heist.
Internally Hoxton Revenge is called hox_3, with hox1 and hox2 being the 2 days of Breakout.
There's a unique blue-shirted female FBI agent in the Operations Room on Day 2. She's the same agent who was in charge of investigating the Payday Gang and was last seen interrogating Dallas in the web series. Her corrupt partner is nearby. Both are almost inevitably killed.
The "Why Don't We Just Use a Spoon?" achievement is also dialogue that Houston will use upon repairing a broken drill.
Black Bulldozer on his stool.
The scripted Bulldozer spawn in the parking lot security room used to be a Skulldozer on Overkill difficulty. This was the only instance where a Skulldozer appeared on settings other than Death Wish, though it had since been replaced with a Black IZHMA 12G-carrying variant who will engage the crew on sight. The Skulldozer spawn still remains on his native risk level.
On lower difficulties the Bulldozer in the Security room will not spawn in the Crimewave Edition of PAYDAY 2.


")
")
")
")
 (25 KB)")
 (25 KB)")
 (24 KB)")
 (24 KB)")
 (25 KB)")
")
")