Counterfeit is one of the heists included in the Wolf Pack DLC.
Walkthrough[]

Mitchell by his grill.
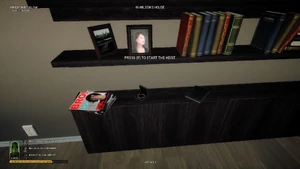
The heist starts with the crew standing near a Bodhi's Pool Repair van in one of the predefined spawn points. The crew will then have to seek out Mitchell, who is standing by his grill in his backyard. Once a crew member approaches him he will lead the crew over to the basement, explaining the problem before returning upstairs. Should you start the heist before Mitchell opens the basement, then you will need to find a crowbar to breach the door to the basement.
Prior to starting the heist, the crew is advised to spread out and find all 7 or 8 civilians, who are in Mitchell's kitchen, the garden, and sometimes Wilson's house. There will sometimes be civilians on the far side of the garden, and the girl in the bikini is sometimes in the lounge of Wilson's house.
Prevent all citizens from escaping when the heist starts, and restrain them with cable ties. You may have to kill some civilians if you are playing solo and they are spread out too much. Once the civilians are under control, set up a hacking device in Mitchell's basement, then move the bookshelf in Wilson's basement and start hacking the revealed code lock.
Undetected[]
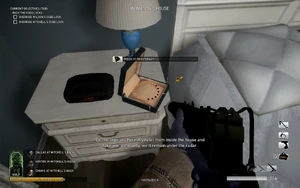
Before any cops arrive, take the opportunity to search the houses, garden and garages for a crowbar, which is required for future objectives. Exactly two bars appear in each playthrough, and at two of the following locations:
- Wilson's garage, by the car's rear right tire
- Partially underneath the front of Wilson's bed
- Mitchell's garage, in the middle
- Mitchell's bedroom, inside a shopping bag near the bathroom
- Right next to the pool
- The shed in the far corner of the garden
- Below the rear of Wilson's boat
- In Pool
Be sure you are not seen by the neighbors. Once the crowbars are found, dedicate one crew member (preferably with a silenced weapon) to silently neutralize incoming cops, and the others to restarting the hacking devices as soon as possible.
If the crew manages to stay undetected, Bain will mention that someone must've seen something and that two officers are coming to check out the address. The crew must stay hidden (perhaps at the top of Wilson's staircase) and wait until Bain says the officers are inside before killing them with a silenced weapon or melee attack, or taking them hostage. If successful, the crew will remain undetected.
After a while, the police will call Wilson's telephone number, but the crew cannot pick it up. Two more officers will soon enter the garden through the side entrance. Remain hidden again (the top of Wilson's staircase works here too) and silently neutralize them once Bain gives you the cue. Shortly after, the police officers will be reported missing and SWAT will begin to arrive.
If you fail to remain undetected, then law enforcers will come as soon they are aware of the crew's operation. Units will be coming from predefined points of the map, jumping over fences and walls, and sometimes a helicopter will hover above Mitchell's house.
Reaching the safe[]
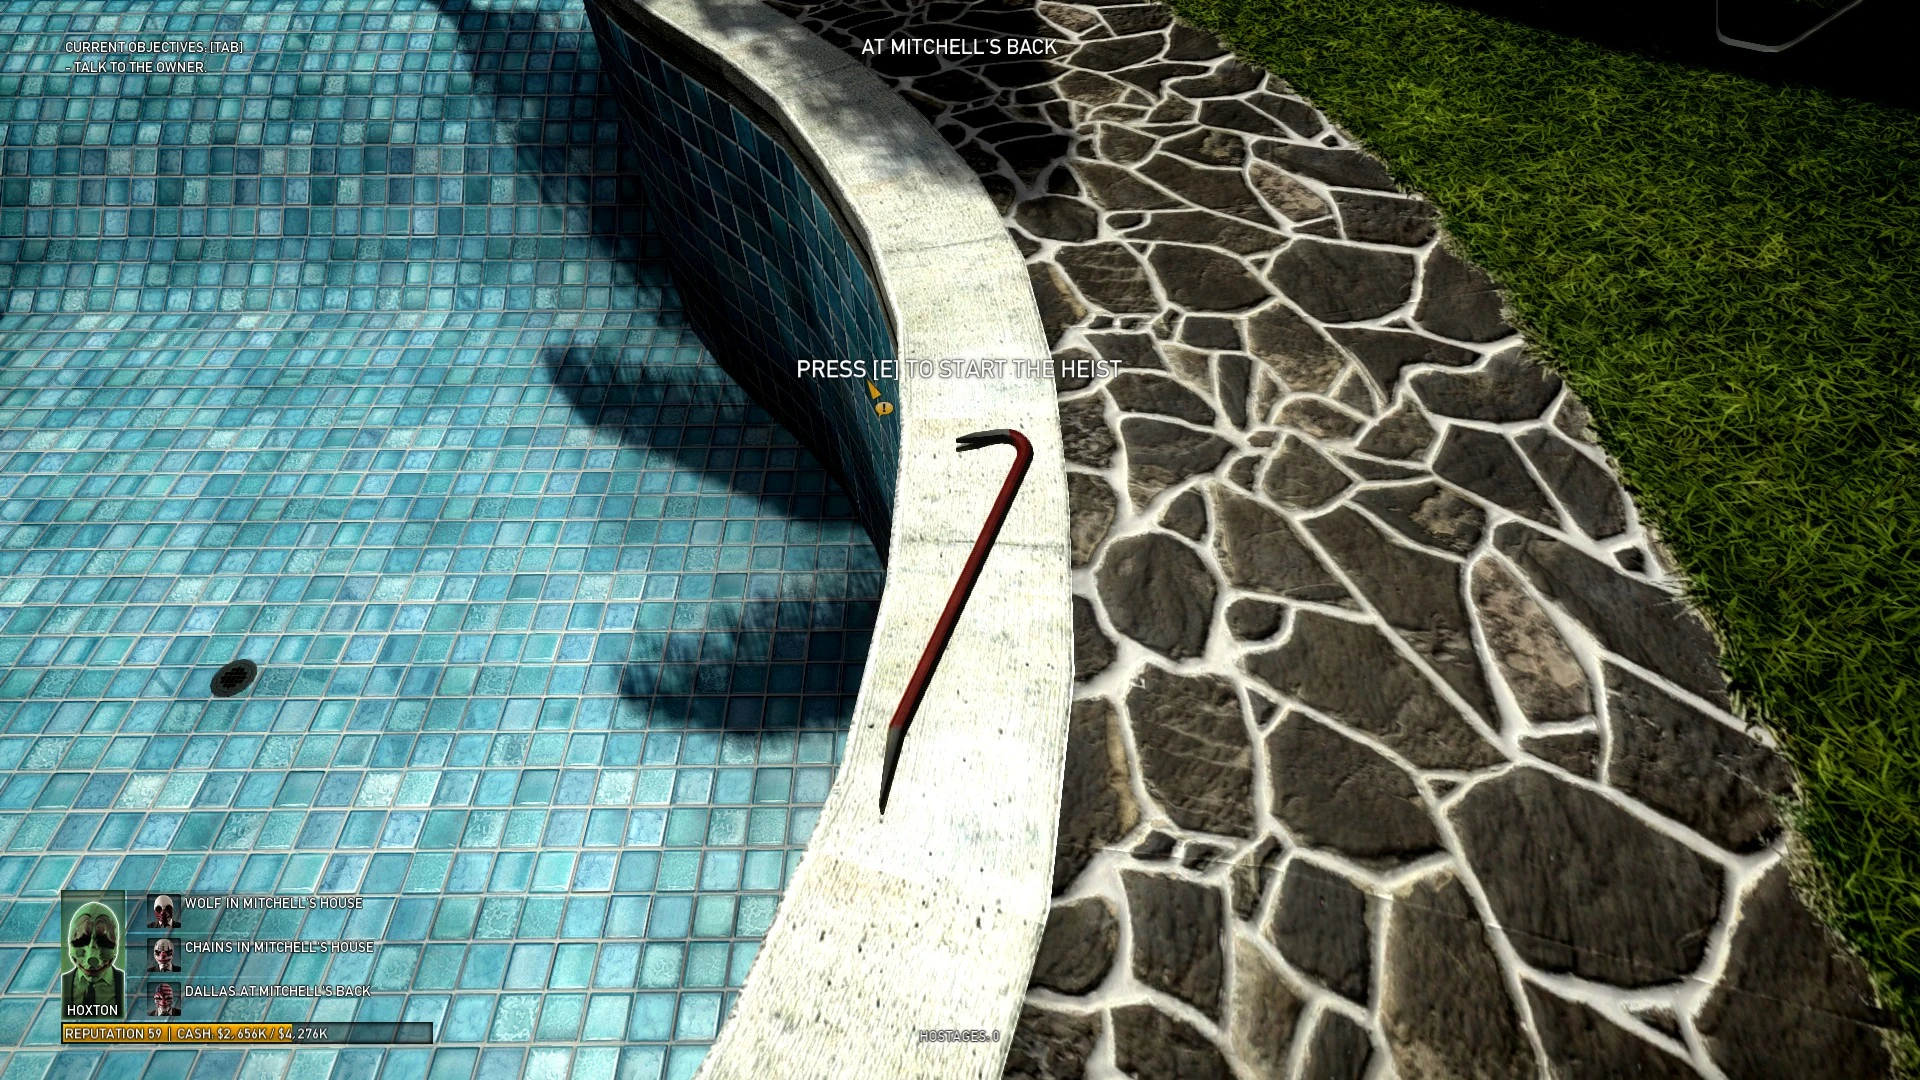
One of many locations where the crowbar may spawn.
After the hacking devices are done, the doors will open. The crew will have to manually breach at least one of two metal doors, either from Mitchell's or Wilson's side (or both simultaneously if the crew has two crowbars), to reach the safe.
There is a small chance that the room has a booby trap, which can be detected by the presence of large money bundles lying on the floor near the printing machine. The trap consists of seven explosive charges scattered around the room. The crew can attempt to defuse all the charges within approximately 15 seconds of entering the room, or they can grab as much money as possible before the charges explode. Most of the charges are planted on the walls, but there is one under a table and one in the machine. If one charge explodes, then all of them do, and every crew member near the explosion will be injured or downed, depending on their proximity and body armor level. A hole in the ceiling (directly below the swimming pool) will also appear, allowing law enforcers to attack from above and jump into the room.
Opening the safe[]
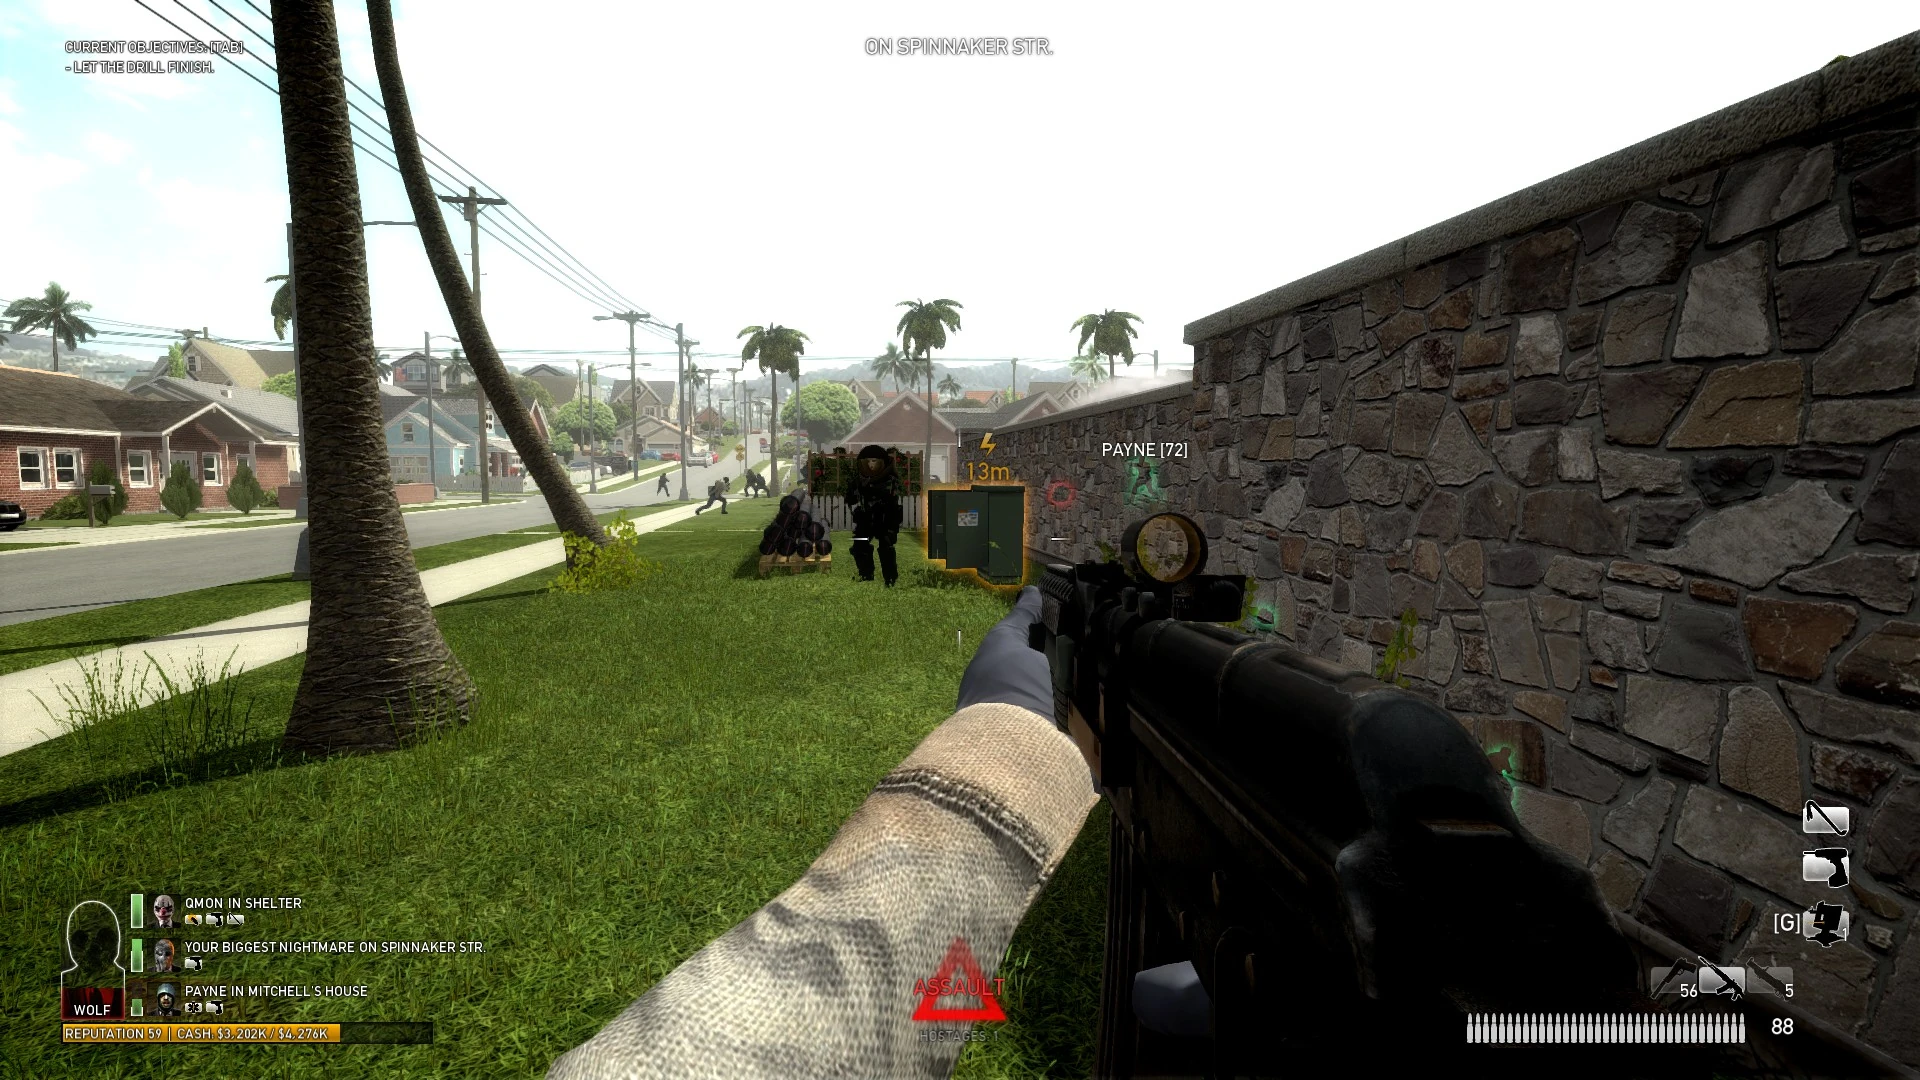
A Bulldozer guarding a power box on the street.
Once the crew has breached the doors, they will find that the safe is a Franz Jaeger, which is heavily reinforced and has a lock that cannot be drilled. The crew will have to place a slower, non-jamming drill (5 minutes) on top of the safe and plug it into the power outlet just outside the shelter. While waiting for the drill to finish, the crew must keep the power on. Bulldozers will be periodically dispatched to shut off one of various nearby circuit breakers or power boxes, and then guard it. If you see a Bulldozer and are quick enough to kill one, you can prevent him from shutting the power off, allowing you to keep the drill running.
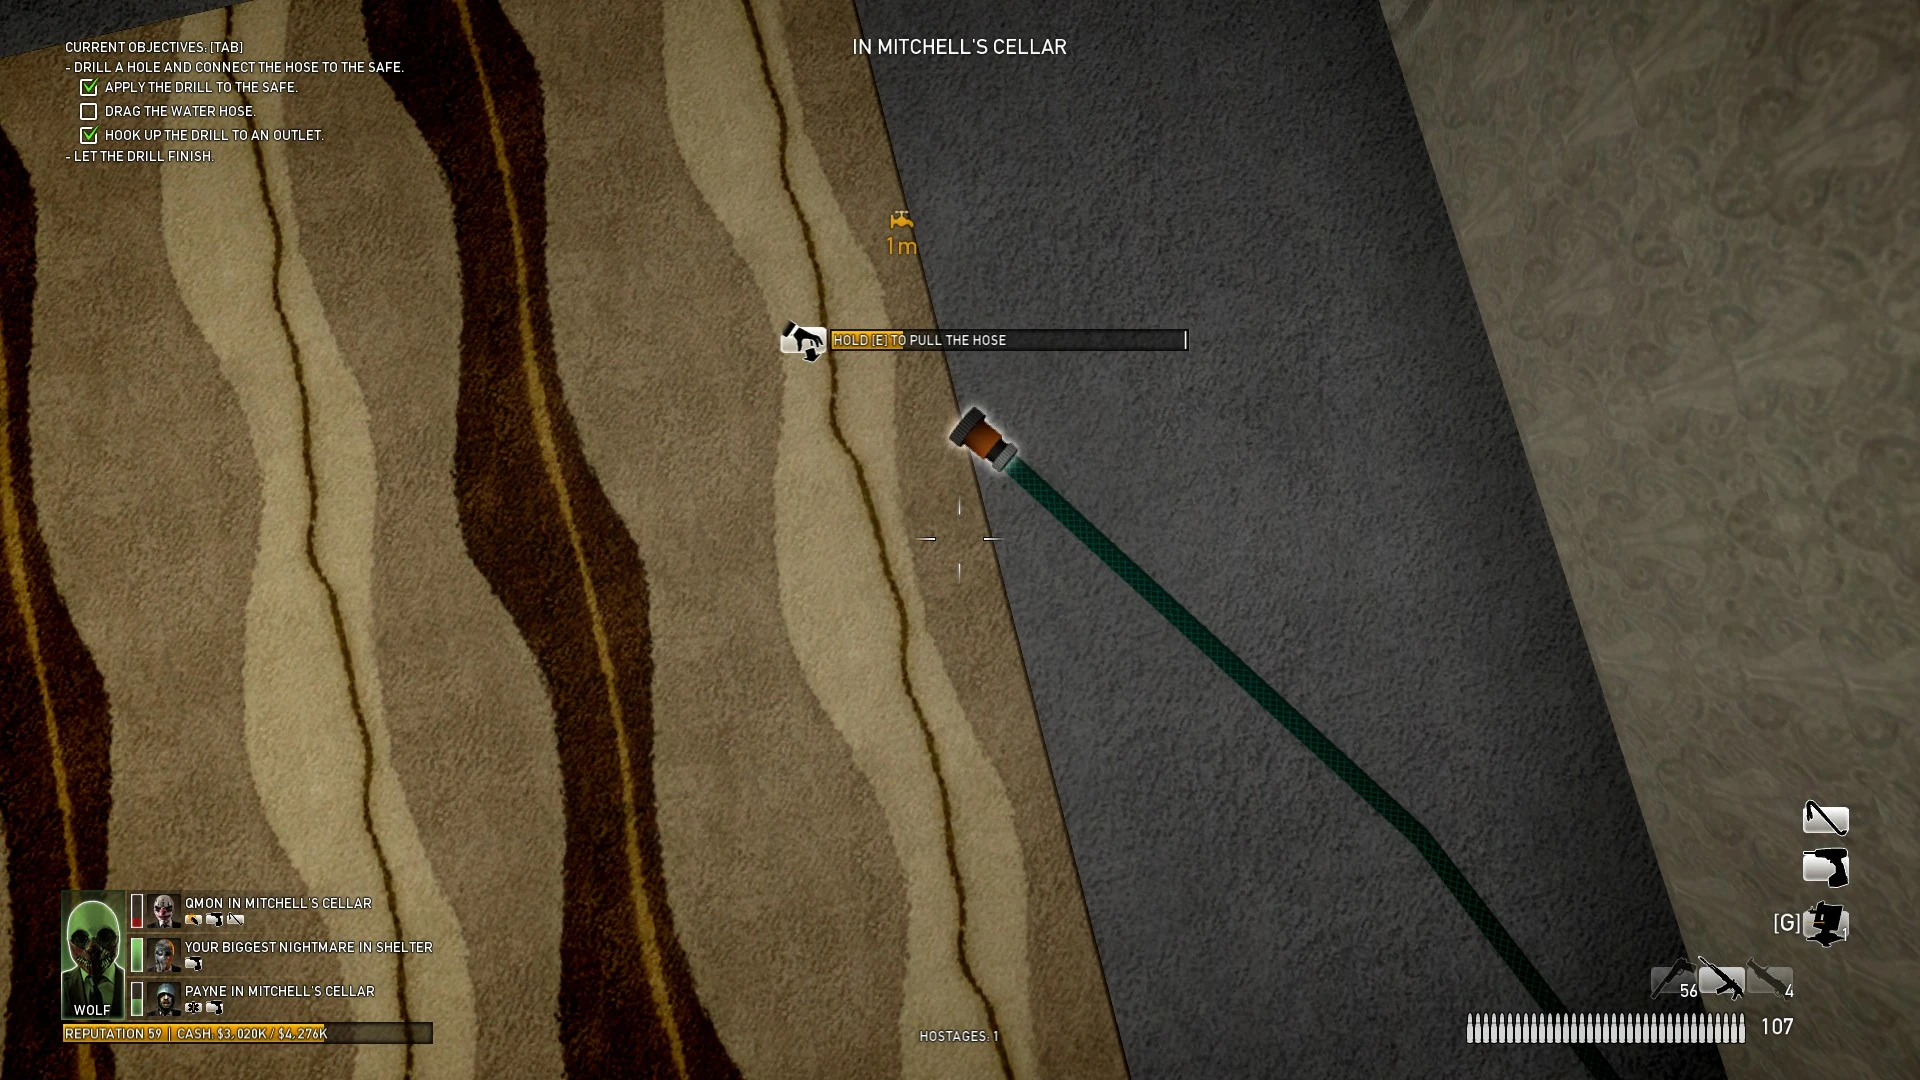

The hose.
The crew must also "pull" a garden hose to the shelter. At this point, the drill's power and the crew's safety have higher priority because this objective does not impact your progress until after the drill is finished, which takes at least 5 minutes.
After the drill is done and the garden hose is pulled, connect the hose to the safe, and turn on the hose. The safe will slowly fill up with water over the next few minutes, the progress of which the crew can monitor by looking for the jets of water spraying out from the frame of the safe door. Special units will be periodically dispatched to close one of various water valves near the sidewalks, and then guard it.


The safe door, blown open. The plates and diamonds are scattered around the floor.
Loot and escape[]
When the safe is full of water, which occurs soon after five visible water leaks in the safe are sprung, the crew must apply C4 to the safe (the explosion cannot hurt you). Quickly grab all of the printing plates and diamonds, which are scattered in the safe and on the floor in front of the safe.
Go to the highlighted manhole, kill the Shields guarding it, open the manhole with a crowbar, and drop into the sewers. The crew must breach a series of metal doors to reach the escape zone, and there is another crowbar near the first door.
| Normal | Hard | Overkill | OK 145+ |
|---|---|---|---|
| 4:00 | 2:00 | 1:30 | 1:00 |
Additional rewards[]
- 14 diamonds, each worth $10K for a total of $140K, are spread out after the safe is blown open by the C4 explosion.
- 4 piles of money, each worth $4,000 for a total of $16,000, will spawn if the shelter is booby-trapped. See the section Quick hands for details.
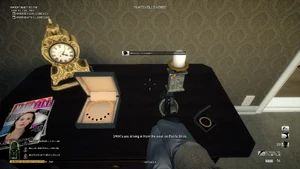
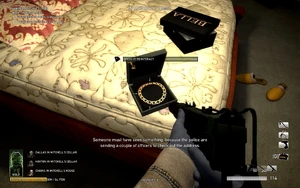
- 2 bracelets, each worth $500 for a total of $1,000, have a chance of spawning. One of them may spawn in Wilson's bedroom or living room, and the other in Mitchell's bedroom. They appear to spawn more frequently on higher difficulty levels.
- 2 necklaces, each worth $1,000 for a total of $2,000, have a chance of spawning. One of them may spawn on the Wilson's bedroom drawer, and the other in Mitchell's bedroom. They appear to spawn more frequently on higher difficulty levels.
Unique achievements[]
Crowd control[]

Complete the heist without letting any hostage escape or die. You will have to have played the heist from the start.
- In each playthrough, there are either 7 or 8 civilians. Extra cable ties are necessary when there are fewer than four human players, and recommended when there are four human players in case a civilian's cable tie is removed by the police.
- Hostages cannot be freed during an assault, allowing players to focus on objectives during this time. However, players are advised to get near the civilians when an assault is about to end.
- If a civilian's cable tie is removed, then quickly shout at them before they run away and restrain them again.
- Avoid firing at a downward angle, so that there is a smaller chance of accidentally killing a civilian. This is especially important when shooting through smoke near a hostage.
- Beware of Tasers, who may accidentally cause you to shoot a civilian.
- Be very careful when using the GL40 or trip mines.
- When you kill a cop, and he starts shooting randomly (in his death agony), he can accidentally kill the hostage.
Quick hands[]

Defuse all seven C4 charges in the basement before they explode.
Successfully defusing all the C4 grants the crew access to money bundles in the basement worth $16 million. At least three human players are required to defuse all the bombs, and the toolkit is recommended for defusing the bombs more quickly.
The chance of the C4 trap occurring is greater on higher difficulties. When you see several money bundles in the basement, then the trap is set and it will start as soon as the crew opens the doors. It is advised that the entire crew enter the shelter simultaneously. You will have about 15 seconds to either defuse all seven bombs or to get as much money as you can. Five of the bombs are on the walls, one is under a table, and the last one is within the printing machine. One player can defuse three bombs, even without the toolkit. Each player should avoid defusing the same bomb as another player.
If the crew defuses all the bombs, then every player earns the achievement and is free to take all the money in the room. The total amount is enough to level up at least once for players near level 193.
If the crew fails to defuse all of the bombs before the timer runs out, then all of the C4 will explode and will either heavily injure or incapacitate nearby players, depending on how close they were to the explosion. A hole will appear in the ceiling of the shelter, allowing both the crew and the cops an alternate route to the basement, and the water hose can be dragged through the hole if it is near the pool.
Pacifist[]

Complete the heist by not killing anyone at all. Every player in the crew must play the heist from the beginning, only players who own the Wolf Pack DLC and escape will unlock the achievement, and taking hostages is allowed.
- Being undetected for as long as possible is recommended. The policemen who arrive can be taken hostage.
- Since murder is disallowed, bring four doctor bags, two protector bonuses, and two "more blood to bleed" bonuses. Weapons that can easily one-shot enemies (e.g. Reinbeck, GL40) are not recommended, in case a Taser shocks you.
- When the Bulldozer shuts off the power/water and guards it, three players should attempt to distract him while a fourth restores the power/water; anybody who loses their body armor in the process should take cover to let it regenerate and avoid incurring damage.
- Avoid close encounters with the Taser, who may cause you to accidentally fire your weapon and kill somebody. If tased, you or your crewmates must either free you by shooting the Taser but not killing him, or revive you after incapacitation.
- If you do not wish to risk shooting anybody while being tased, then unload all of your ammunition for the weapon you are holding and not just the current magazine; when tased, the weapon will automatically be reloaded.
- Avoid close encounters with the Cloaker. Once he decides to kick a player, it will be very difficult for his target to lose him.
- Avoid harming anybody unless you are trying to take a hostage for an immediate trade. Law enforcers who are taken hostage can be freed by their colleagues whenever an assault is not taking place, but will not regain any health; hence, if the crew attempts to intimidate the same law enforcer twice, they will likely kill him by accident.
Variations and Events[]
This section lists variations and events that appear randomly or if the players make a certain decision.
Police entry points or the locations of hostages are not mentioned because those are always random.
Bodhi's Pool Maintenance & Repair Van
- At the beginning of the heist you will always be at the van, and the van will be at one of four locations.
Stealth
- If the players are able to tie down all hostages without any escaping then the swat will arrive later. After this the players will have to silently take out two pairs of cops. The police may send two more cops to find the previous pair as well. After doing that the normal swat assault will start.
The Boy's and Girl's Room
- The girl's room can be locked. It is possible to open the door with a crowbar.
- The boy's room can be locked. It is possible to open the door with a crowbar.
- Both doors can be locked at the same time.
C4 Trap
- Sometimes the shelter is filled with money and C4. To defuse all C4 in time two of the players will need the toolkit equipment. If the C4 is not successfully defused, then the the C4 will blow a hole into the roof and as a result the water hose does not have to be dragged as much as normal because it will go through the hole. It is more likely to happen on higher difficulties. You will know that this will happen if Mitchel starts laughing when he gets tied down. He will not always laugh but if he does then it is this event.
Wilson's Wall

Hole in the Wall.
- There is a chance that the police will drive an assault van into the Wall near the entrance of the house shortly after the players reach the shelter with the money printer. It is more likely to happen on higher difficulties.
Power Boxes
- The locations of the powerboxes are random.
Crowbars
- The level contains Crowbars which appear in either Wilson's garage, Mitchel's garage, in front of the boat or by the pool.
- There are usually some crowbars in the sewers as well, this can help speed up the crew's escape.
Sewers
- Sometimes some of the duct covers will be opened and a pair of special units will enter.
- Sometimes a bulldozer can come out in one of the pipes.
- There are two different possible locations for the manhole which have different routes in the sewer to escape through.
| Heists | Release: First World Bank • Heat Street • Panic Room • Green Bridge • Diamond Heist • Slaughterhouse DLC: Counterfeit • Undercover • No Mercy |
| Weapons | Primary: AMCAR-4 • Reinbeck • M308 • Brenner 21 • AK Secondary: Mark 11 • Locomotive 12G • Compact-5 • GL40 Pistols: B9-S • Crosskill .45 • Bronco .44 • STRYK |
| Deployables | Ammo bag • Doctor bag • Trip mine • Sentry gun |
| Enemies | Regular: Security guard • Cop • FBI • Gangster • Blue SWAT • Heavy SWAT • Murkywater Special: Bulldozer • Cloaker • Shield • Sniper • Taser |
| Characters | Dallas • Hoxton • Wolf • Chains • Bain • Minor characters |
| Gameplay | Assault Waves • Civilians • Crew AI • Drills • Environmental hazards • Police Custody • Reputation • Risk Level (Overkill 145+) • Shout • Stealth • Upgrades |
| Miscellaneous | Achievements • Challenges • Companies (GenSec • Murkywater) • DLC • FBI • Gangs & Mafias • Graphic options • Masks • Overkill Software • Steam Trading Cards • Timeline • Update history |